
Failed Flashing Repair in Davenport, IA
Failed flashing repair on commercial roofs in Davenport, IA: parapet walls, curbs and penetrations rebuilt with the right detail, not another bead of caulk.
The maintenance tech has already run a bead of sealant along the north parapet twice this year. The third work order says the same thing: a damp patch on the drywall, same wall, same spot. He is not wrong to keep trying. He is just fixing the symptom.
Flashing is the part of a Davenport, IA roof that moves the most and gets the least attention. We walk it with you, wall by wall, curb by curb, and sort out what can be resealed from what has to be rebuilt. By the end of the visit you have photos, a list, and a recommendation in plain terms.
Where Flashing Gives Out
Flashing is the transition between the roof field and everything that sticks up through it or rises beside it. Walls, parapets, curbs, pipes, vents, drains, skylights and roof hatches. The membrane runs up the vertical surface as base flashing, and a metal counterflashing or termination covers its top edge.
Failures cluster in a few places. The top edge of the base flashing pulls away from the wall. The counterflashing opens at a lap or corner. A sealant joint dries, shrinks and splits. A corner patch, cut in the field, was never welded or bonded properly. Each one lets water behind the membrane, where it runs downward into the insulation or straight into the wall.
Temperature Swing at the Wall
Davenport has seen -29 F in winter and 111 F in summer, and a parapet wall and a membrane do not respond to that range in the same way. Metal expands and contracts along its length. The membrane shrinks as it ages and pulls up the wall. Masonry holds heat and gives it back slowly.
Sealant is the weak link in that argument. It bonds to two surfaces that are moving at different rates, and after a few winters it cracks at the edge. A bead that looked fine in August can be open by February.
When we find a split joint, we look at why it split. If the metal is too short for the run, or the lap has no room to move, re-caulking only resets the clock.
Brick, Reglets and Mortar Joints
Older masonry buildings carry their flashing into the wall. The counterflashing sits in a groove cut into the brick (a reglet) or is tucked into a mortar joint. When the mortar erodes, the metal loosens and the joint above the flashing becomes a water path.
Two of the old brick landmarks in the downtown core, the Davenport Hotel from 1907 and Union Station from 1924, show the kind of masonry parapet where this trouble starts. A roof edge on masonry that old call for a careful look at the brick before anyone attaches anything to it. The limestone shop buildings from the 19th century on Rock Island Arsenal carry a National Historic Landmark designation, so a roof edge there is work on historic stone. Buildings in the Village of East Davenport, most of them put up between 1848 and 1910, get the same slow look at the brick.
On a masonry parapet in downtown Davenport, the mortar gets repointed before the new counterflashing goes in, so the metal has something solid to sit in.
Curbs, Pipes and Hatches
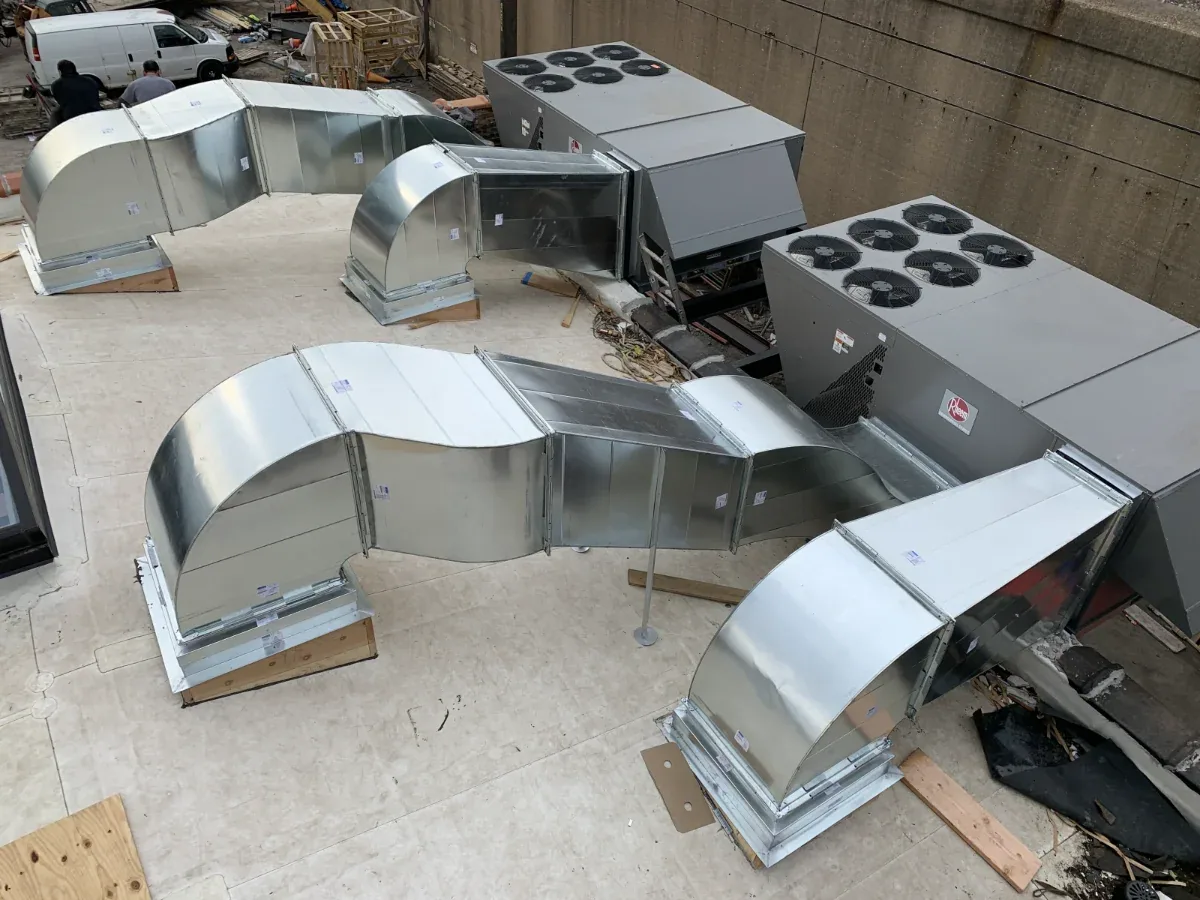
Every opening in the membrane is a place where flashing has to do its job. Rooftop units are the usual culprit. The unit gets swapped, the curb gets moved a few inches, and the old flashing is left to bridge a gap it was never cut for. Conduit and gas lines get added later, with a dab of sealant around the pipe.
We re-flash from the bottom, with new base flashing welded or bonded to the field membrane and a fresh termination at the top. The detail changes with the roof type, and skylight, curb and penetration flashing follows the membrane. When the steel under a unit has moved too, the repair extends to the curbs and equipment supports themselves.
Where an HVAC vendor has to lift a unit, we coordinate the day.
Why Mastic Is Not the Repair
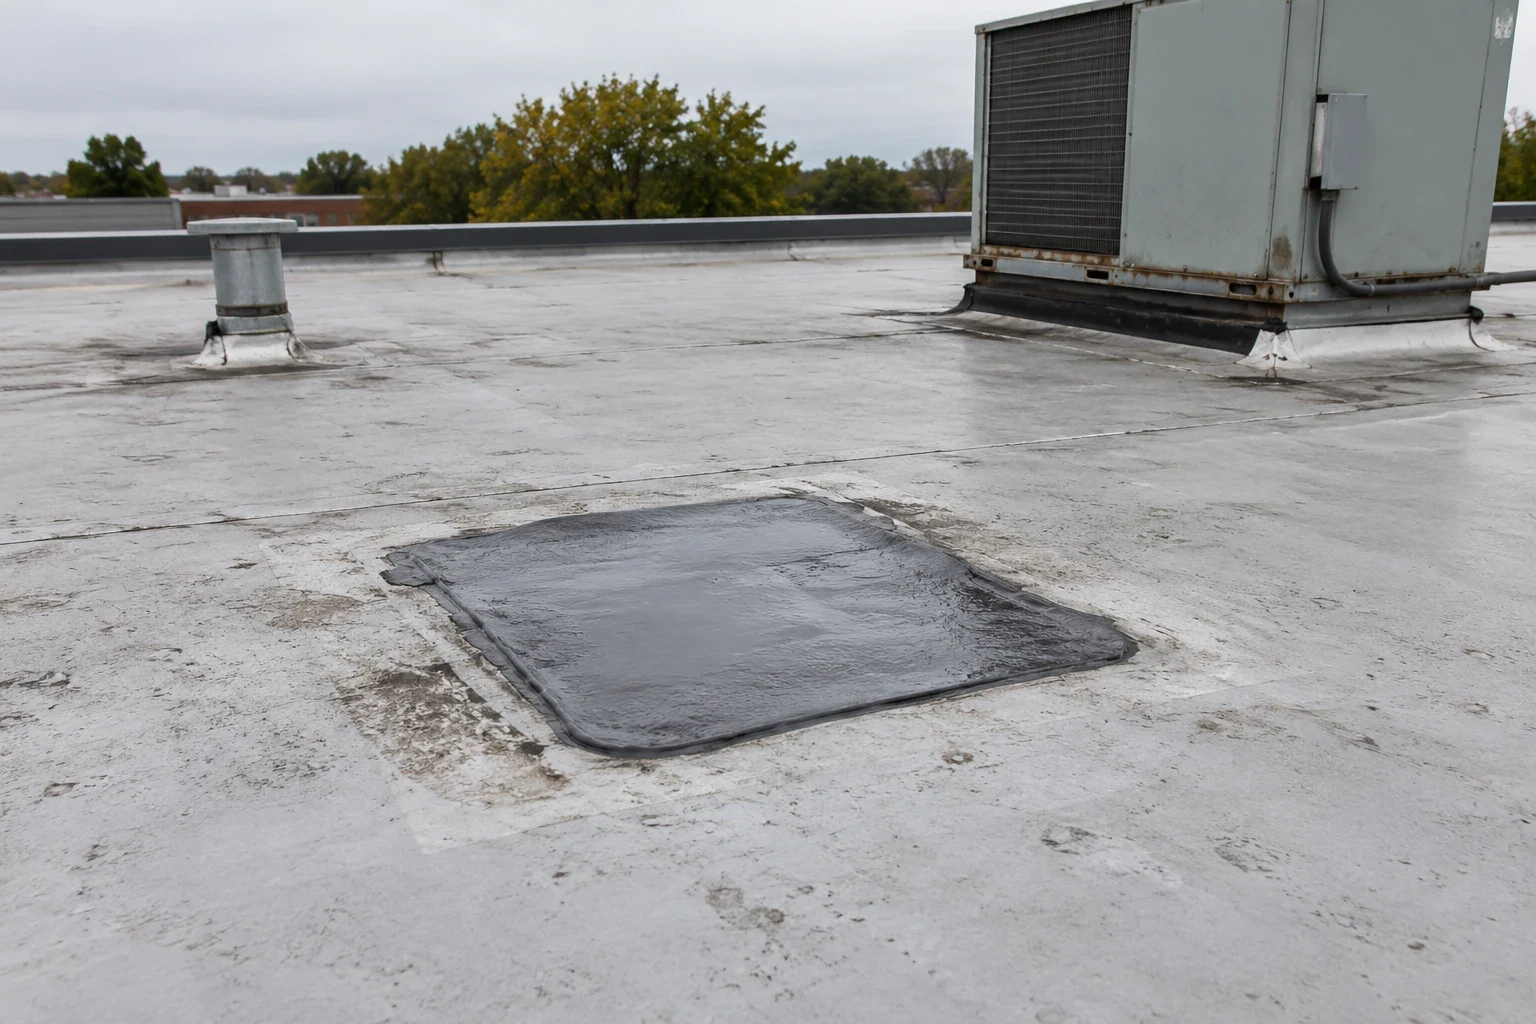
Mastic and cold-applied sealant have a place as a temporary measure on a roof that is going to be replaced. They do not belong as the permanent fix on a failing detail. They hold for a season, then shrink and crack, and the roof still has a gap behind it.
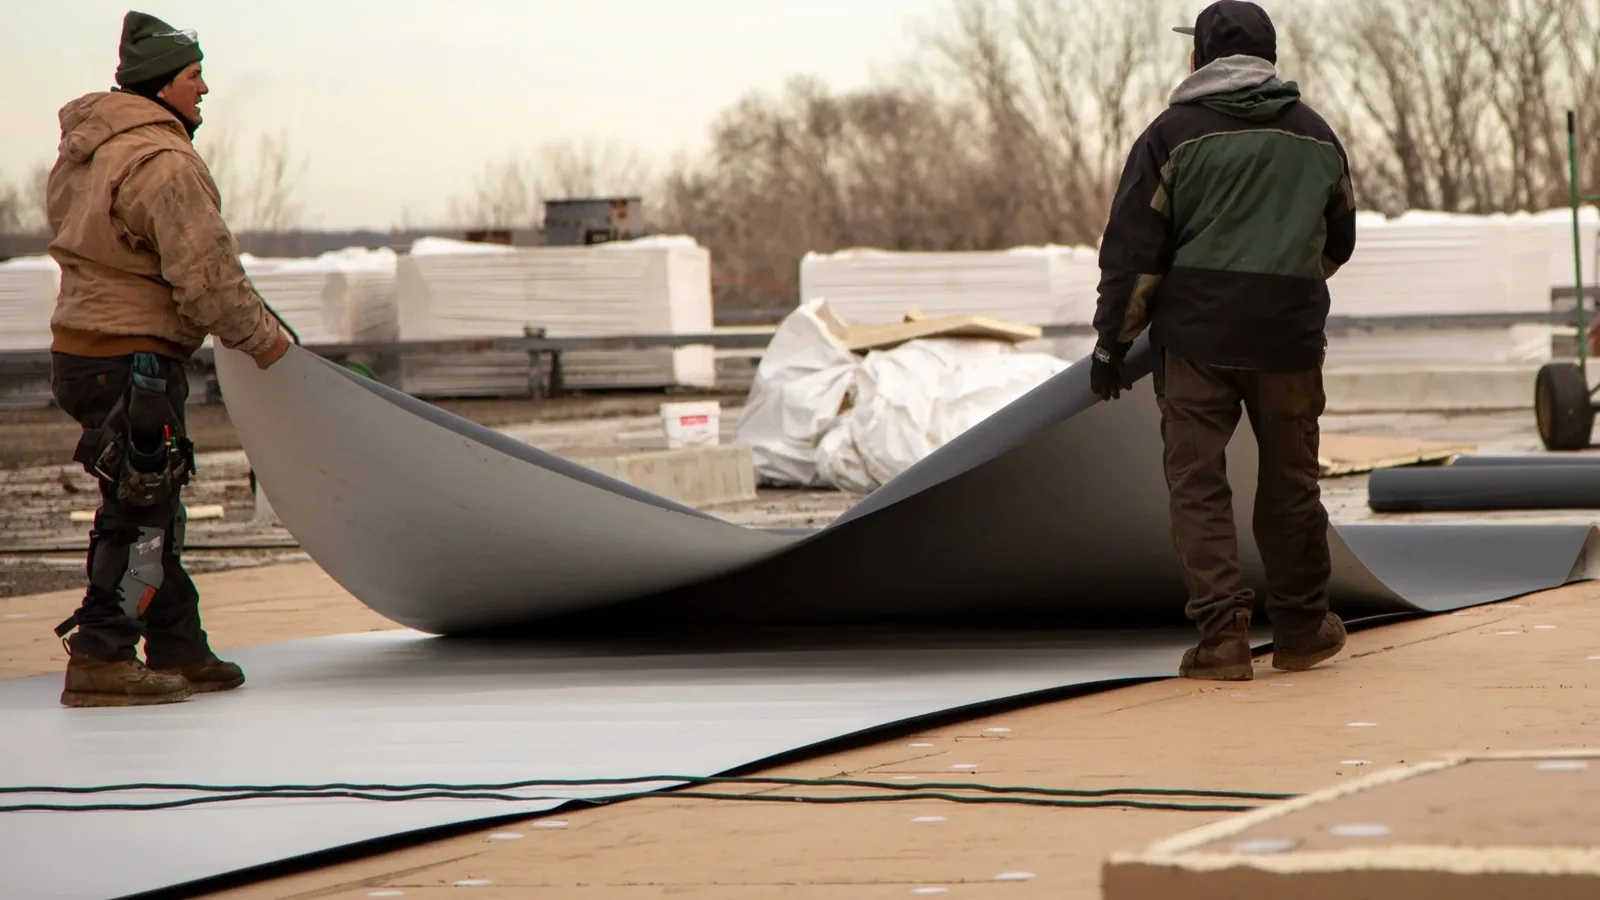
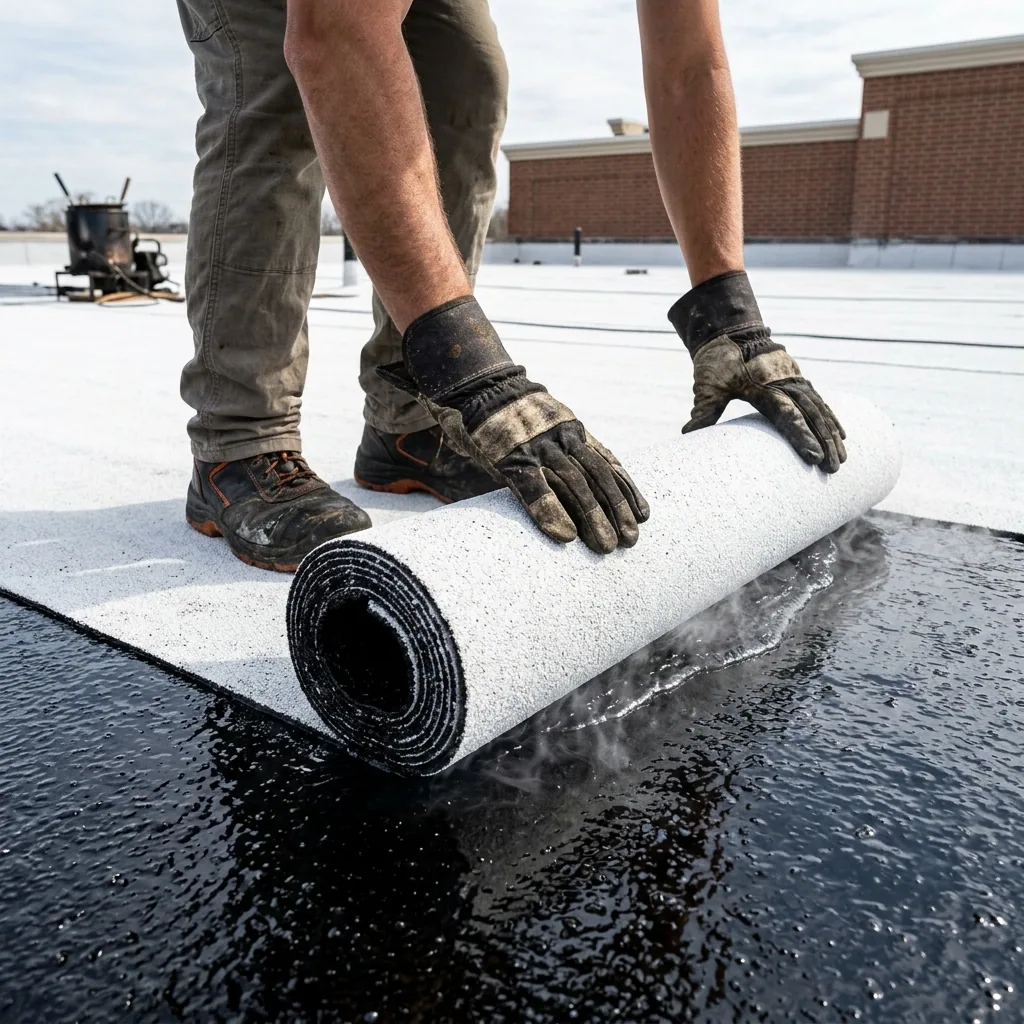
A real repair means replacing the failed piece with the same type of material the roof is made of. On modified bitumen, that is new flashing plies heat-welded or cold-applied to the field. On single-ply, it is membrane flashing welded or adhered with the proper termination bar. We cut out the bad material, clean the substrate, and tie it into the field with overlap, not a smear.
Testing the Repair
Before we leave a flashing repair, we put water on it. A hose test at the repaired detail, started low and moved up, shows whether the work holds before the next storm does the test for us. If the roof has leaked inside, we check the interior at the same time.
The close-out has photos of each repaired detail, a short list of flashing we saw that is still serviceable but aging, and a recommendation for the next walkthrough. When a leak persists after the repair, the cause is elsewhere, and the next step is tracing the leak back from the interior. Open laps in the field are a seam failure repair, not a flashing one.
When a split crosses the field rather than the curb, use the inspection boundary described in membrane puncture repair to keep the scope precise.
Send the Work Order or Book a Wall Walk
Send us the work order and the photo of the damp wall. We will meet you at the roof hatch, walk every wall and curb, and hand you a list of what to reseal and what to rebuild.
Questions About Failed Flashing Repair
Can maintenance just reseal the counterflashing again with a fresh bead of caulk?
For a few months, probably. The question is why the last bead failed. If the metal is loose, the joint is moving, or the mortar behind it is crumbling, new sealant fails the same way. We look at the fastening and the substrate first. If they are sound, a quality sealant in a properly cut joint is a reasonable maintenance item. If not, the fix is replacing the metal or repointing.
Water is showing up at an interior wall but the roof field is dry. Where do you start?
At the wall above it. We trace the line from the stain up to the roof, then look at the base flashing, the termination, the counterflashing laps and the top of the parapet cap. A lot of wall leaks come from the coping or the brick above the flashing, not the flashing itself. We spray the suspect area in stages and watch the interior side until the source shows.
Our parapets are older brick. Can new flashing be tied into them without damaging the masonry?
Yes, with some care. We look at the mortar and the brick faces first. Where the joints are sound, a surface-mounted termination bar with sealant works. Where they are soft, we repoint and use a reglet or a through-wall detail. The goal is to avoid fastening into crumbling brick. On a historic building, the owner may also have preservation rules to follow, so we ask early.
What drives the cost of a flashing repair?
Access and length, mostly. A short run at a single curb is quick. Several hundred feet of wall flashing, with scaffolding or a lift and masonry repair behind it, is a bigger job. Material type matters too, because some membranes need heat welding and others need adhesive and cure time. Weather can add a day or two. We price after a walkthrough, not from a photo.
We swapped a rooftop unit last year. Should someone check the curb flashing?
Have it looked at before this winter. A new unit often sits on an adapter curb or a shifted curb, and the old flashing may not reach the new footprint. We check the base flashing height, the termination, the corners and the counterflashing on the curb skirt. If your HVAC vendor did the swap, we can share photos with them so any gap gets corrected by the right party.



Talk to a Davenport Commercial Roofer
Send the work order, the building address or a few photos of what you are seeing. We will set a walkthrough, go up with whoever has the hatch key, and tell you plainly what the roof needs.